Photo Compositing
http://www.robertcorneliusphotography.com/blog/2014/7/10/-compositing-tips-and-tricks
Photo Compositing is the process or technique of combining of visual elements from separate sources--photos, images, graphics--into single images, often to create the illusion that all those elements are parts of the same scene.
The success of a composite image is dependent on the selection of elements as well as how the separate elements are combined. The goal in photography is to have the composite look seamless--as though what the viewer is seeing actually exists and is documentable.
Softening the edges of elements cut out of larger images and insuring that the direction of the light is consistent on all elements are two ways of achieving a technically successful composite.
Juxtaposing impossible elements or drastically changing scale between elements are two ways of achieving a conceptually successful composite.
Please read the article below for an examination of compositing techniques:
http://www.robertcorneliusphotography.com/blog/2014/7/10/-compositing-tips-and-tricks
The Photoshop Pen Tool
The Pen Tool in Photoshop is one of the most powerful of the selection tools which include the Quick Mask, Rectangular marquee, Elliptical marquee, Lasso, Polygonal Lasso, Magnetic Lasso and Magic Wand.
Open your image in Photoshop and select the Pen Tool from the fly-out menu under the Pen icon.
Using the Pen Tool, make a series of points around the outside edge of your subject. You are creating a Path.
Zoom into the image (Command +) to place your points more accurately along the Path you are creating.
If you mis-place a point, don't worry. Either press Command + Z on the keyboard to undo your last point or just keep going. We'll come back in a minute to fix it.
Completely encircle your subject with points. On long, straighter sections you can place the points further apart. On curved sections place your points closer together.
Once you have created a path around your entire subject, zoom into the image and scan the placement of all your points. If you need to adjust any, hover the Pen Tool over the point and press the Command key. The tool will change to the Direct Selection Tool which will allow you to drag the point to where you intended it to go.Once you are satisfied with the Path, you will need to convert your Path to a Selection.
In the Paths window, select the Load path as a selection option. It looks like a small circle of dots at the bottom of the Paths window.
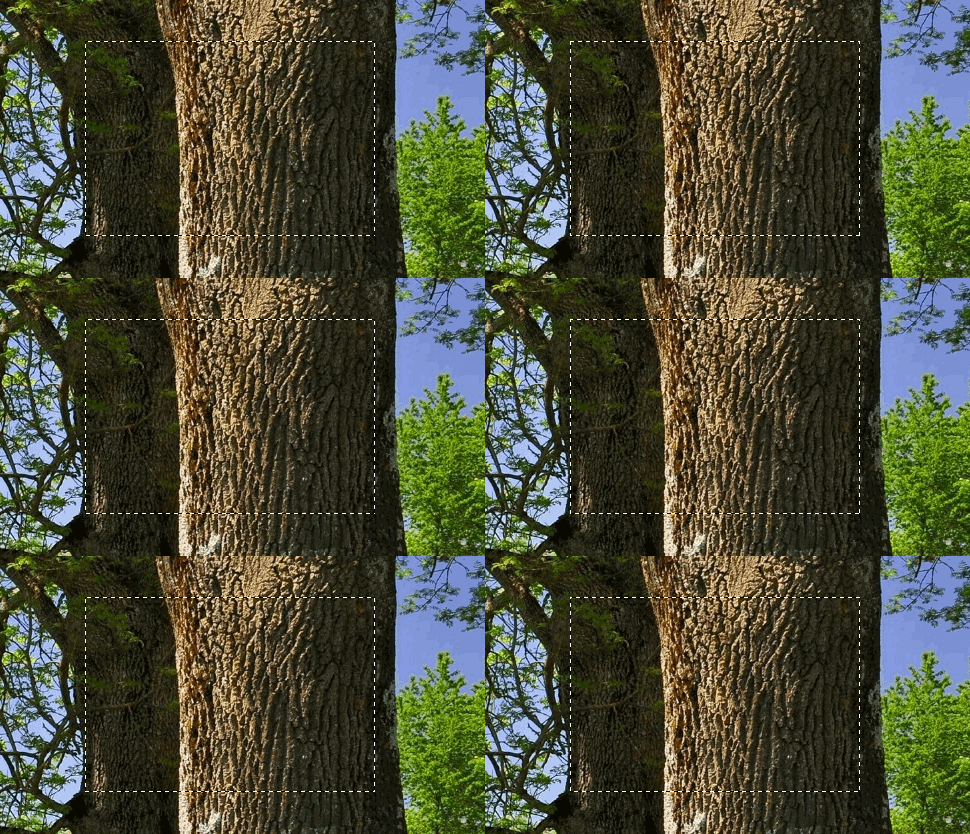
Having loaded the Path as a Selection, you should see the line of "marching ants" going around your subject.
https://www.chrisdanford.com/blog/2014/04/28/marching-ants-animated-selection-rectangle-in-css/
Before copying your selection into another image, you will want to Feather your selection. Feathering a selection slightly blurs the pixels at the edges of your selection. It makes the composited image look more natural and not like your elements were cut out of a photograph.
To Feather your selection click on the the Selection menu at the top of the screen. In the drop-down menu that opens, go to Modify and then Feather.
In the dialog box that opens, insert a value of 1-2 and click OK
Copy your selection by clicking Command + C on the key board, (When you copy an image or selection, it goes into the Clipboard. There is only one element in the Clipboard at any time. That element will stay in the Clipboard until another item is copied and overwrites it).
Go to the image where you want your element placed and click Command + V to paste it into the base image.
Scale, rotate, flip, etc. the newly pasted element to create the image you had in mind.
Read about actual aliens on the moon here:


Comments
Post a Comment